STEP 1
Charge Your Dispenser
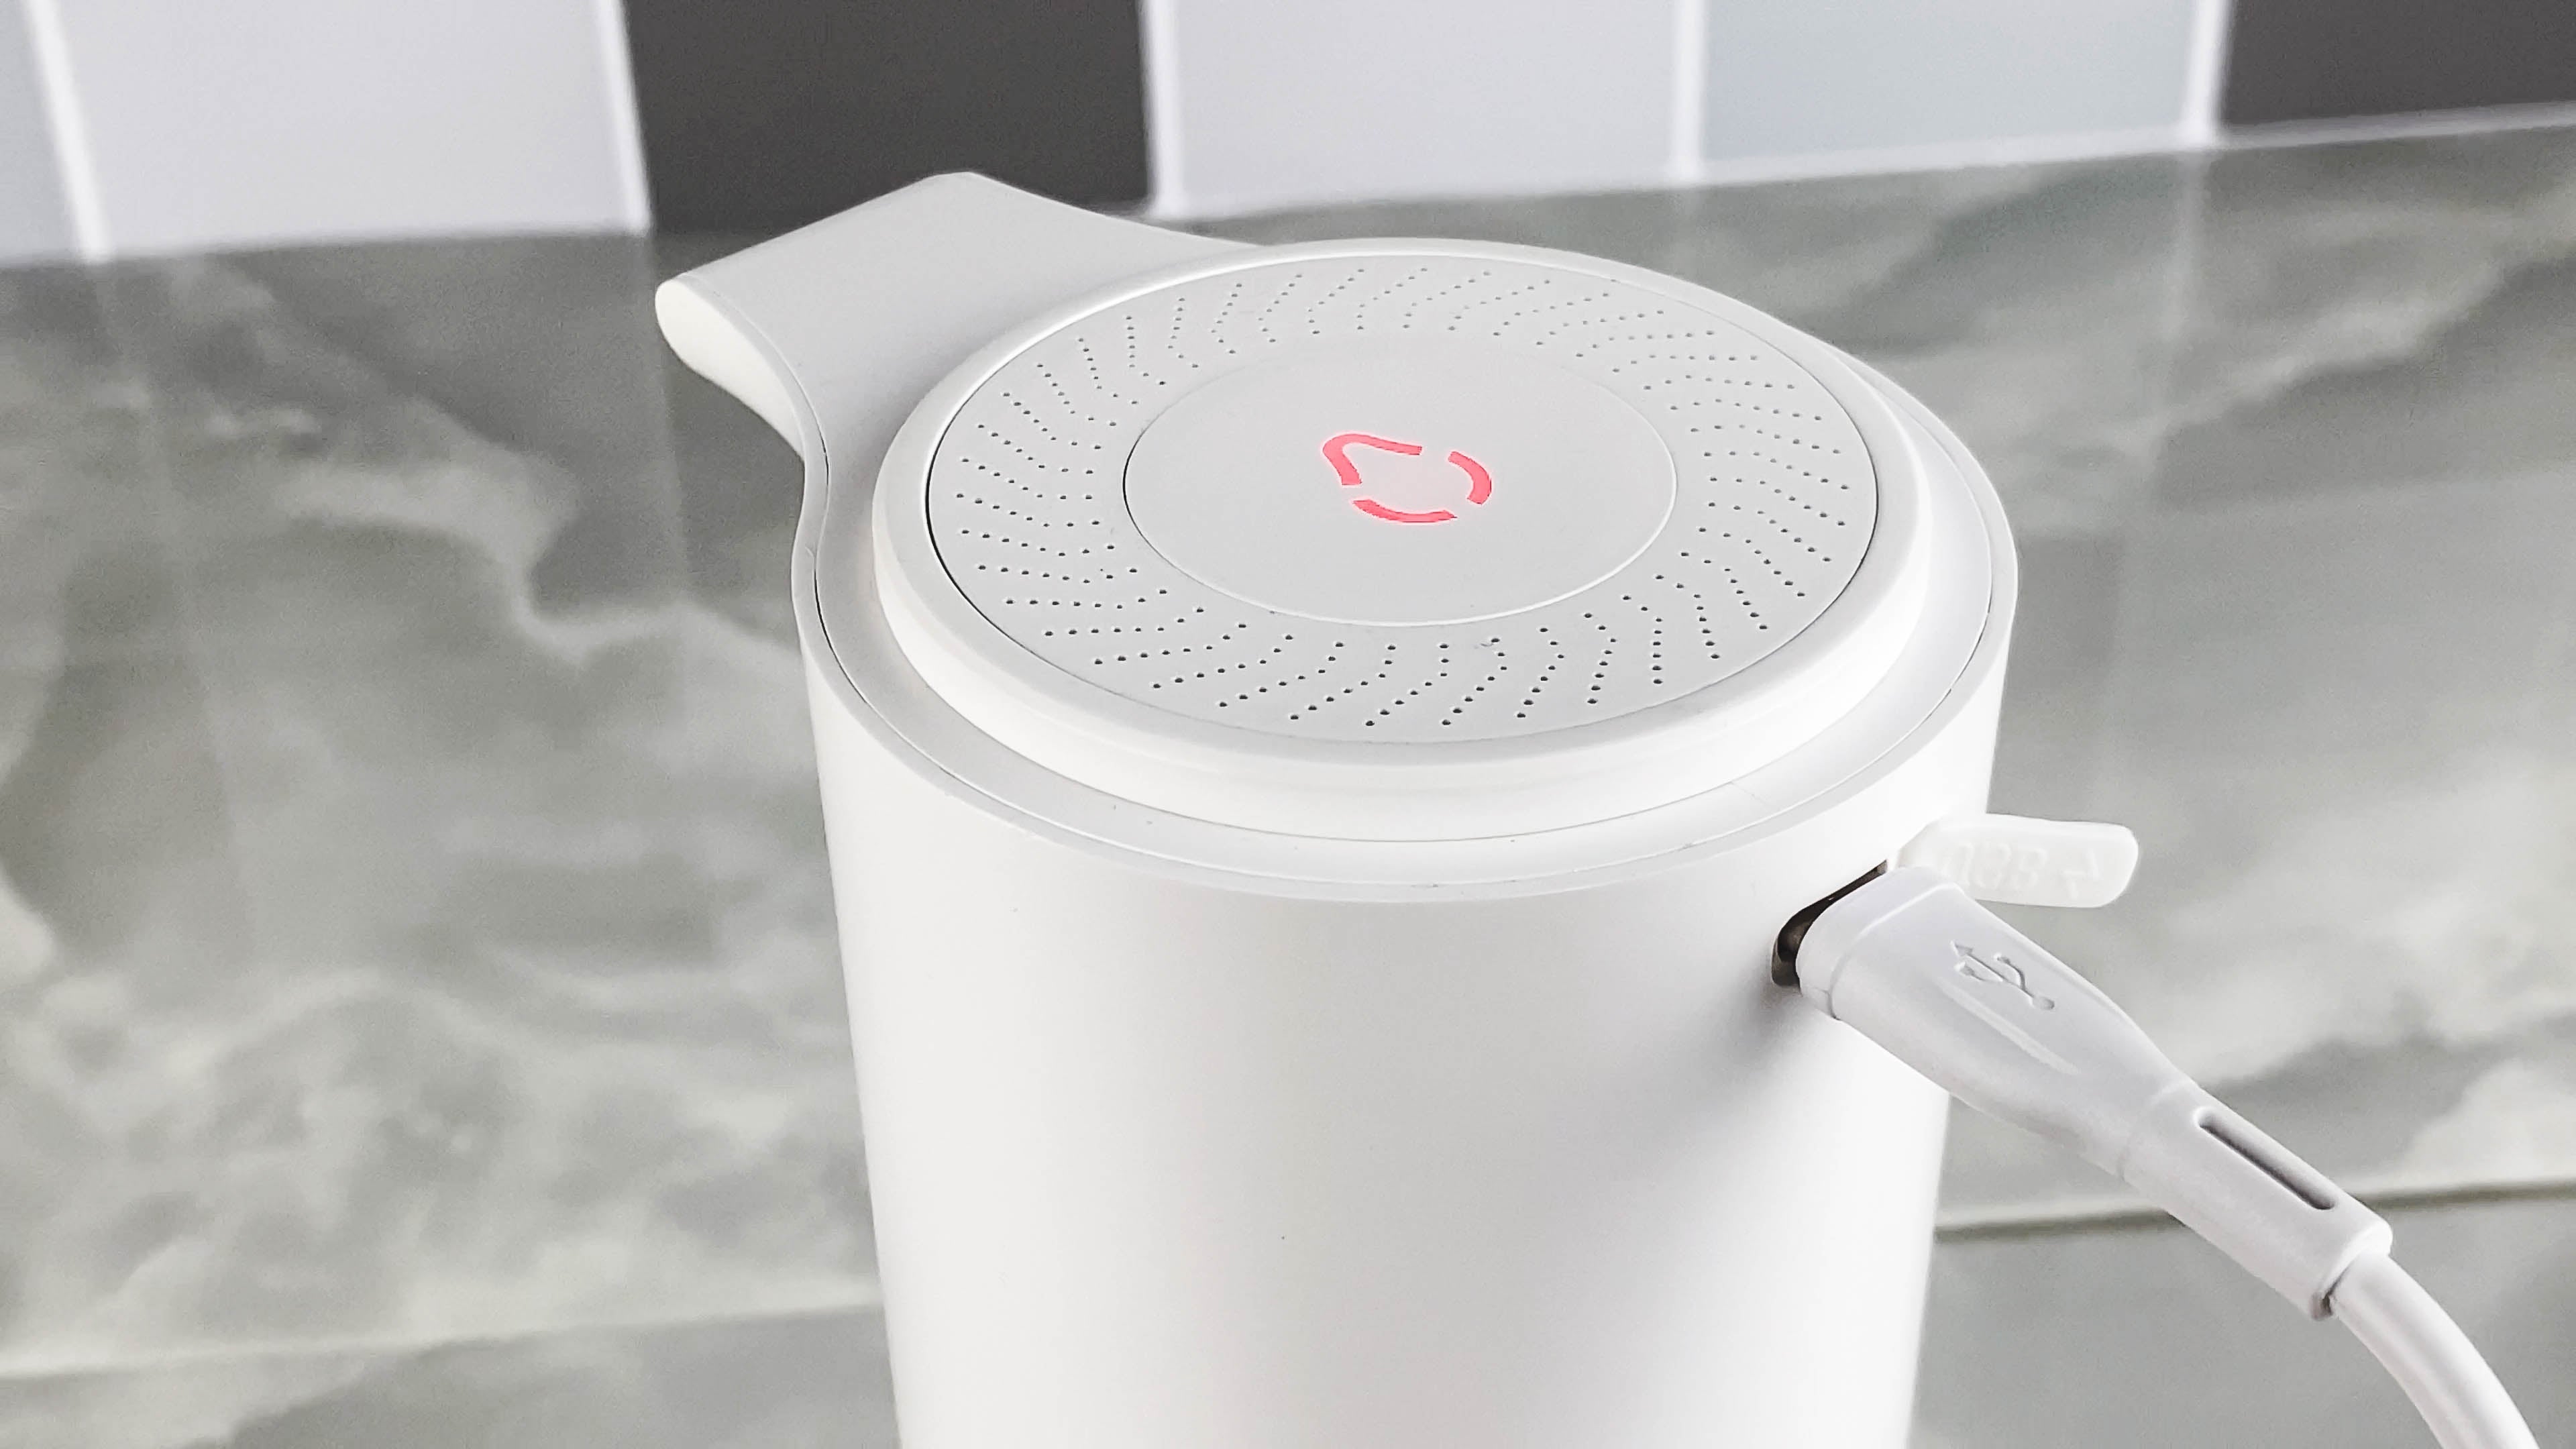
Open the USB cover on the back of the dispenser, insert the provided type-C cable and connect to power. The light will blink red while charging and turn solid green once fully charged (about 2 hours).
STEP 2
Separate Cap from Bottle
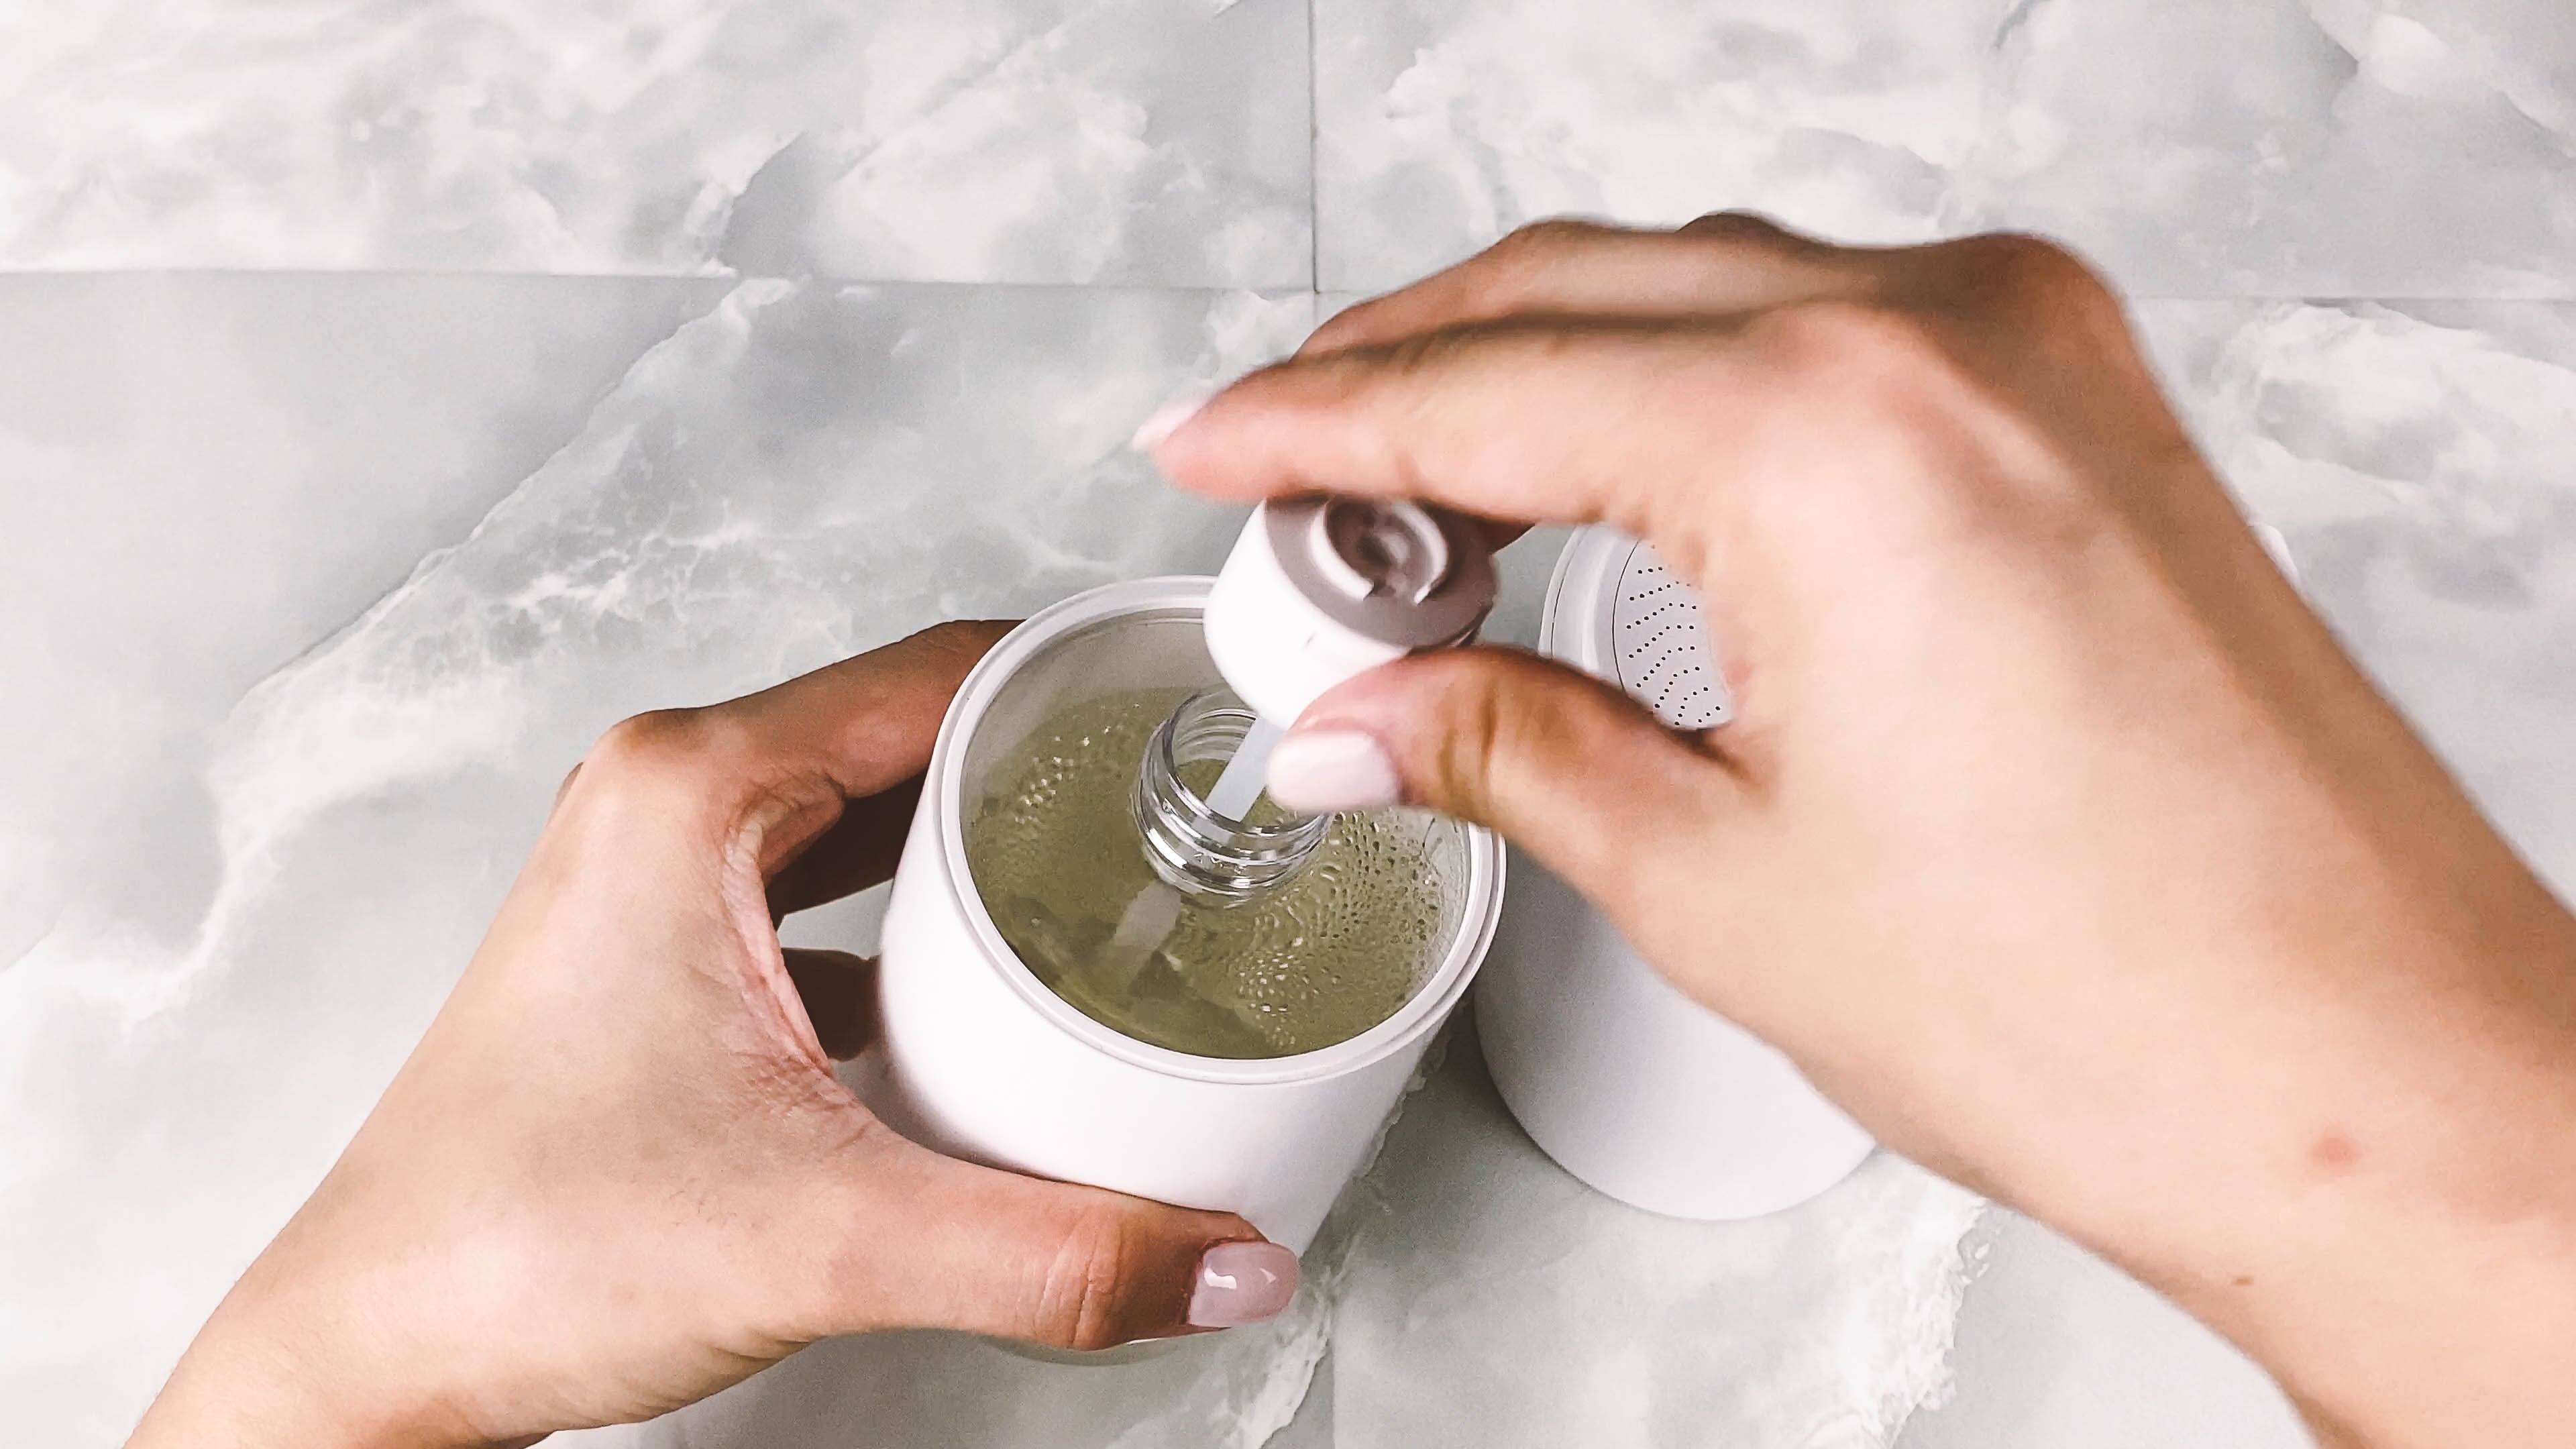
Screw top of dispenser onto bottle until tight (do not overtighten). Then unscrew top of dispenser and cap will release.
STEP 3
Fill with Flushubbles Cleanser
Pour the Flushubbles cleansing solution into the bottle.
STEP 4
Secure Cap
Insert hose back into bottle and close the cap. Avoid overtightening.
STEP 5
Align and Secure Dispenser
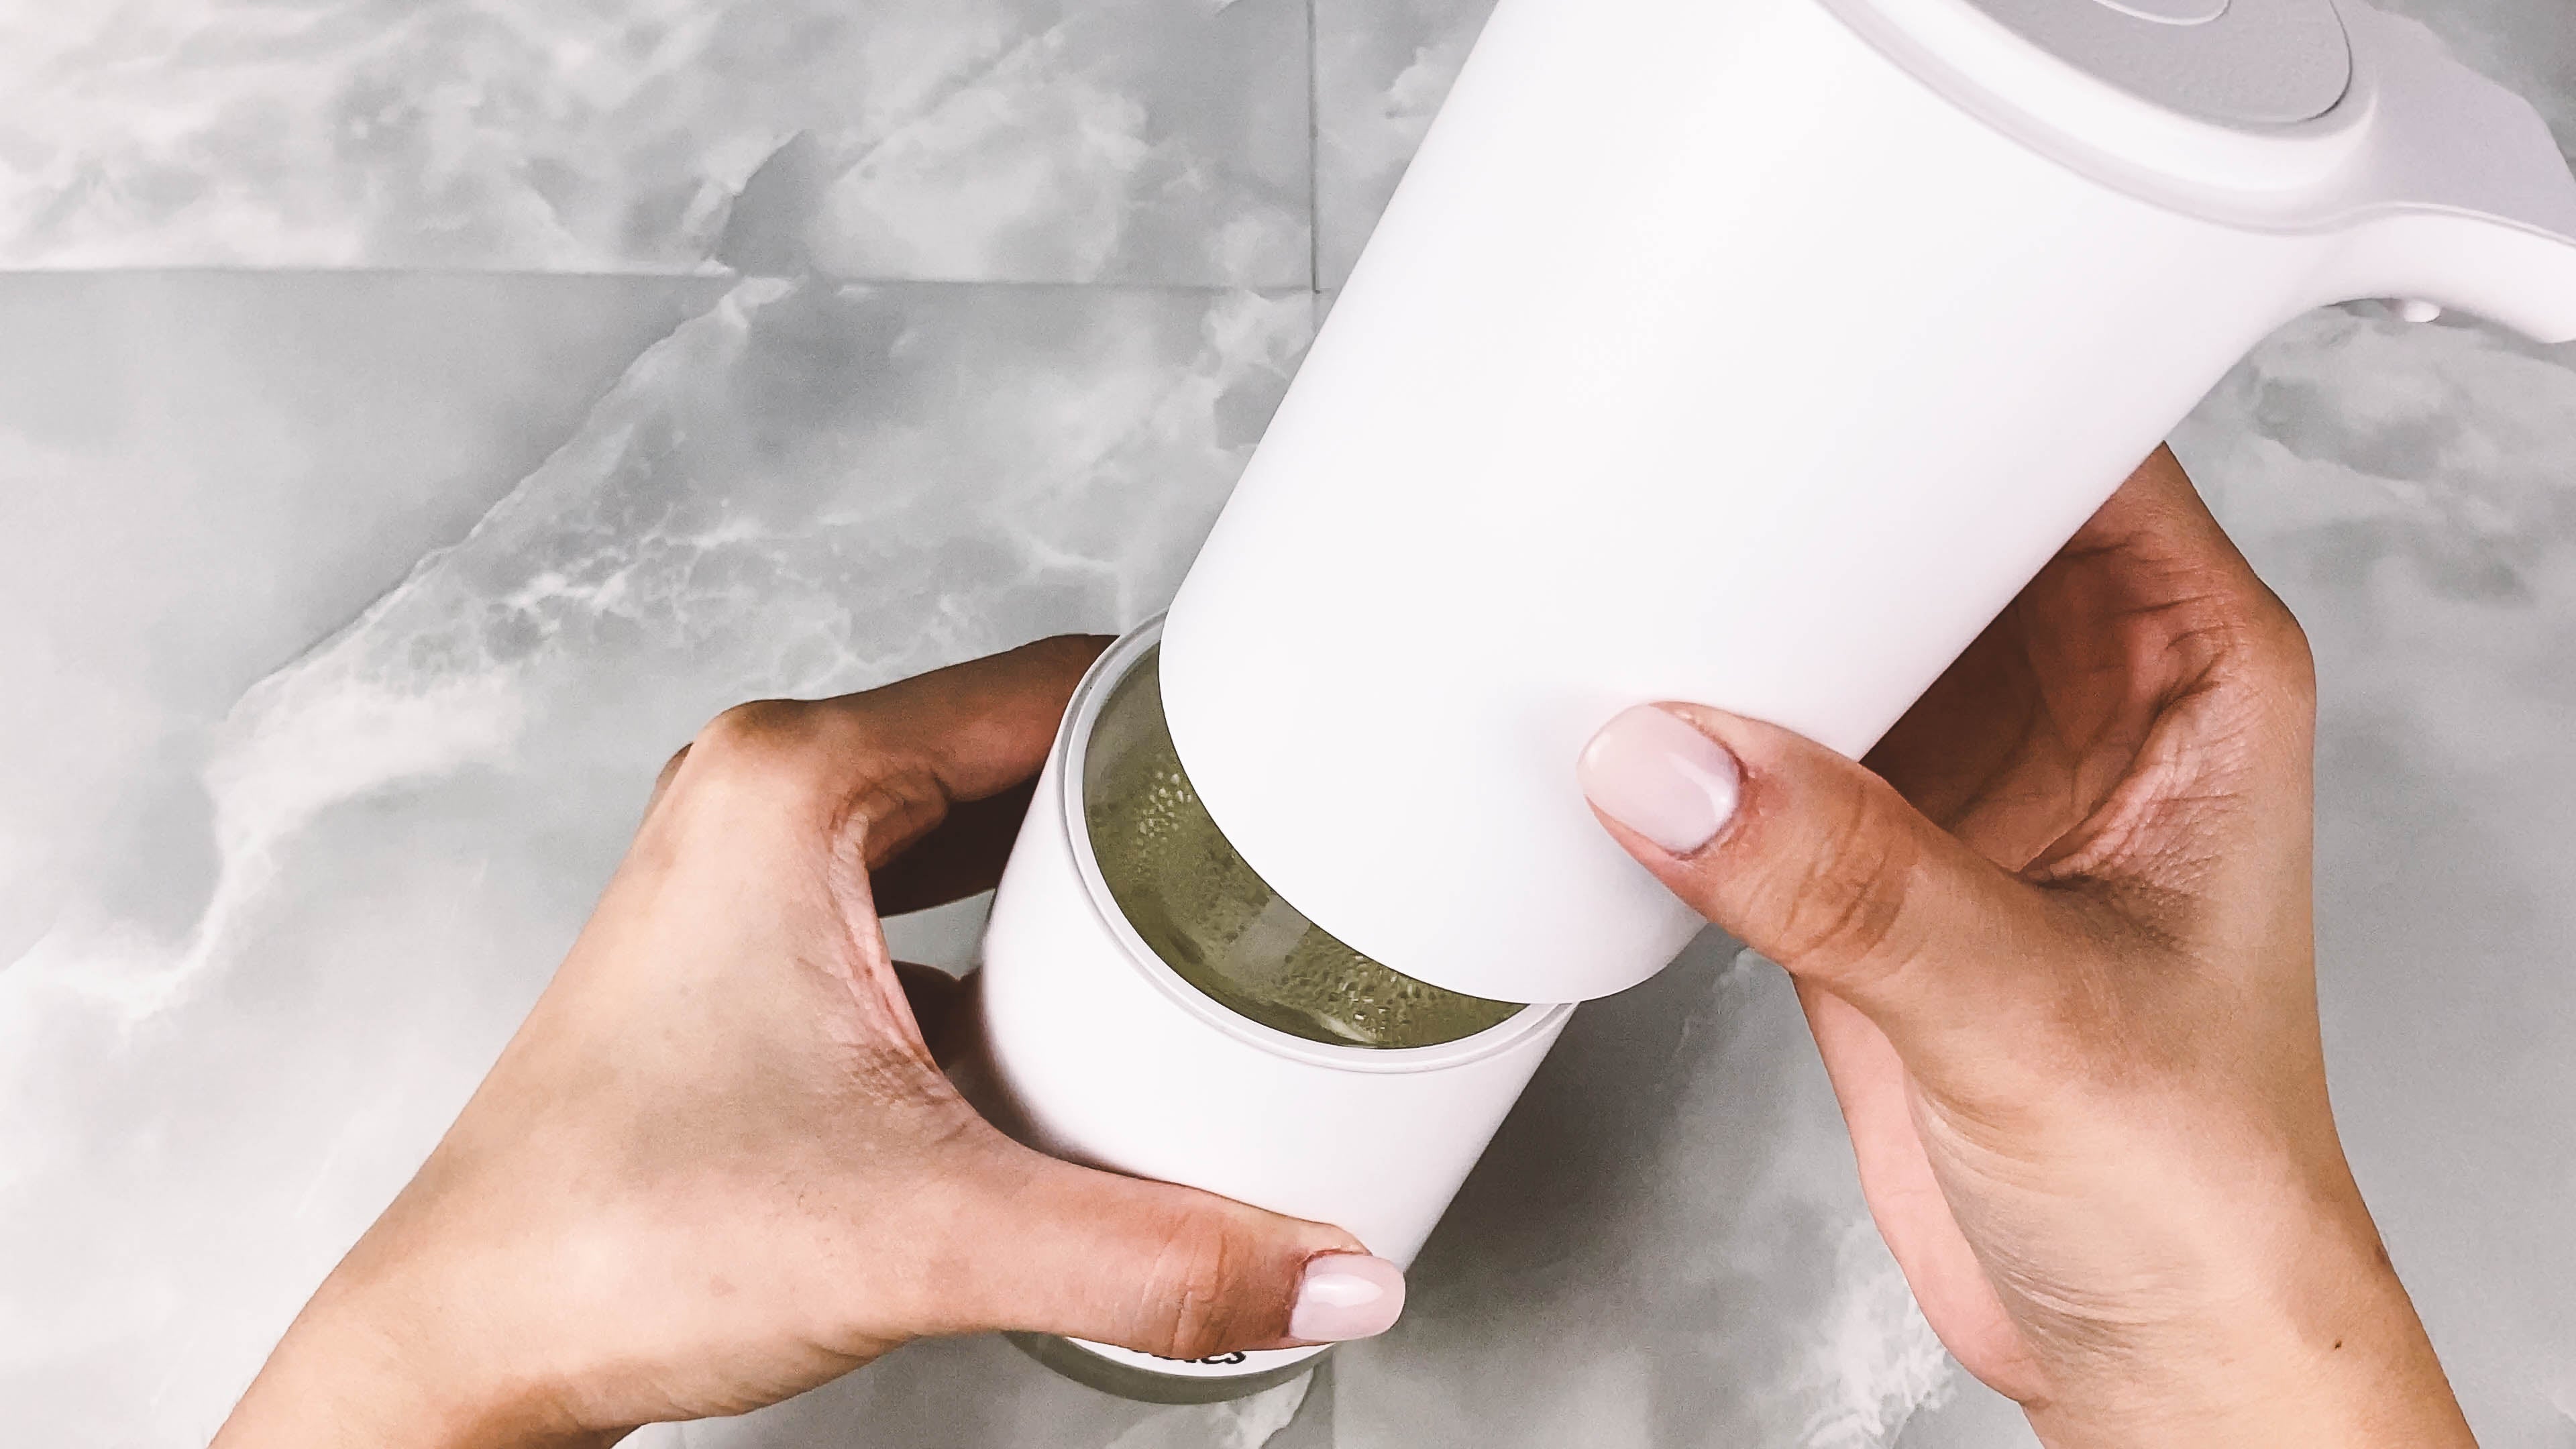
Screw top of dispenser onto bottle until the Flushubbles logo is center with foam spout. Avoid overtightening.
STEP 6
Power Up
Press and hold the power button for 3 seconds to turn on the dispenser. Icon will illuminate white signaling dispenser has been powered on.
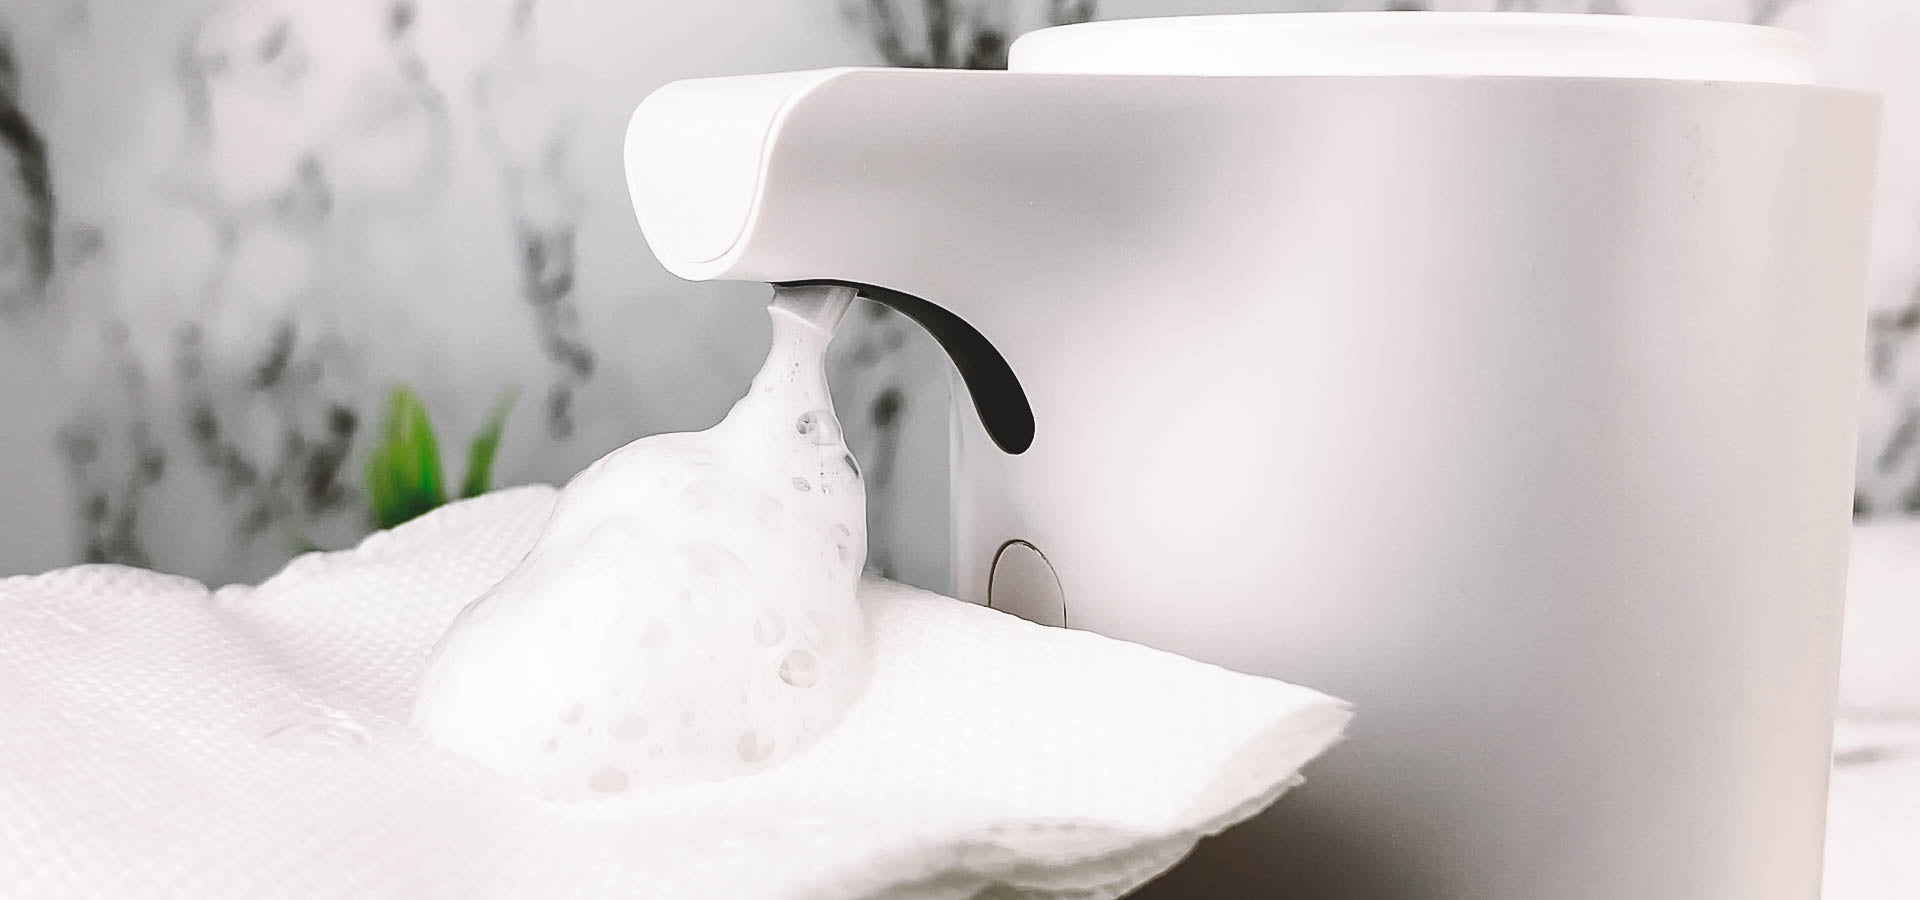
Ready, Set, Wipe!
Wave your toilet paper under the spout and you're ready to wipe!